How-To Measure
Measure your room like a professional
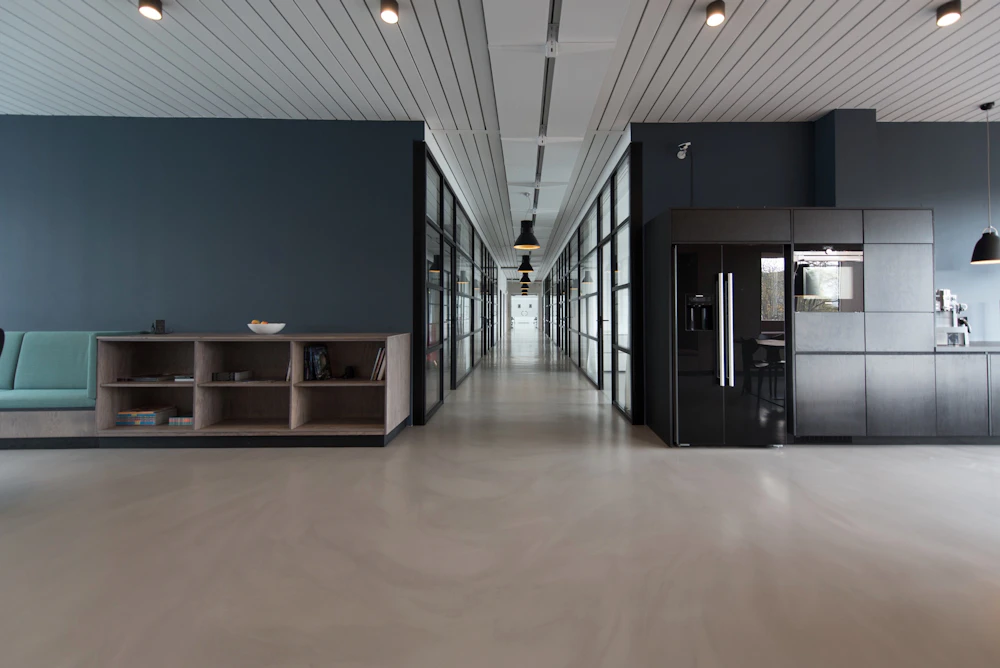
HOW TO MEASURE YOUR KITCHEN
Accurate measurements are essential when planning a new kitchen.
By measuring your space correctly, our design team can recommend cabinet layouts that fit perfectly and avoid installation problems later.
Don't worry, you don't need professional tools. With a tape measure and a simple sketch, you can gather everything we need to start designing your kitchen.

What You Will Need
Before you begin measuring, gather a few basic tools.
- Tape measure
- Pencil and paper
- Phone or camera for photos
- A helper (recommended for longer measurements)

Before You Start
Before taking measurements, draw a simple floor plan of your room.
- Walls
- Doors
- Windows
- Rough room layout

Measure Each Wall
Measure the full length of every wall from corner to corner. Include walls even if they currently have no cabinets. Write the measurements on your sketch.
- Example: Wall A = 3400mm
- Example: Wall B = 2100mm
- Example: Wall C = 2800mm
Measure Doors & Windows
Record the location and size of every door and window. Make sure to measure from the outside edge of frames for the most accurate result.
- Width, height, distance from wall corner, height from floor
- Direction doors open
- Windowsill heights

Measure Floor To Ceiling Height
Next measure vertical dimensions.
- Floor to ceiling height
- Floor to bottom of windows
- Window and door height

Mark Fixed Structures
Some parts of your room cannot be moved and will affect cabinet placement.
- Bulkheads
- Structural posts or pillars
- Nib walls and beams

Mark Service Locations
Next identify all service points. These locations help determine where appliances such as sinks, ovens and dishwashers can be placed.
- Plumbing
- Power points and light switches
- Gas connections
- Ventilation ducts

Measure Existing Appliances
If you plan to reuse appliances, measure them to ensure cabinets and benchtops fit correctly.
- Fridge width / height / depth
- Oven dimensions
- Cooktop size
- Dishwasher width

Take Photos Of Your Space
Photos help our designers better understand the room.
- Each wall and the full room
- Plumbing and electrical points locations
- Doors and windows

Double Check Your Measurements
Before submitting your measurements, check that you have recorded all details.
- All wall lengths & ceiling height
- Door and window locations
- Plumbing and electrical points
- Any obstacles or structural elements

Submit Your Measurements
Once you have completed your measurements:
- Upload your sketch
- Send photos of the room
- Include your measurements
Our team will review your space and help create a kitchen design tailored to your layout.
That's the measuring done!
Now you're ready to start your design.